 Home
Home

 Artists
 Search
 Recent
 Random
 Posts
Posts
 DMs
DMs
 Tags
Tags
 Random
 Importer
 Import
 FAQ
FAQ
 Account
 Register
 Favorites
 Login
Login

November Tutorial: Background Walkthrough (Patreon)
Content

I did this quick background painting for a walkthrough this month! Here are the basic steps of my process, plus the brushes I used for each step

First I sketch everything out, I used the Tapered Pen (default CSP brush) for this but any hard brush is fine. I tend to be really rough at this stage.
Note: if you're drawing a scene with characters you should sketch them both together! This will help your composition be stronger and everything feel cohesive

I like adding the sky first, usually just a simple gradient with some clouds. I drew these clouds with the Soft Pencil brush (https://twitter.com/sekajiku/status/1312374589624901632), kneaded eraser, and blur tool

Here I blocked in the basic shapes of the different planes of the hills/mountains. I try to make the colors bluer towards the distance to give a sense of atmosphere and depth

Here I started blocking in some detail of the grass. I used Tamberella's Grass Block In brush (https://twitter.com/DevinElleKurtz/status/1319017044084314114) for this, as well as the Soft Pencil again. I recommend shifting your hues around bit when adding shading and highlights so it's not too flat

Add in the shapes of the trees
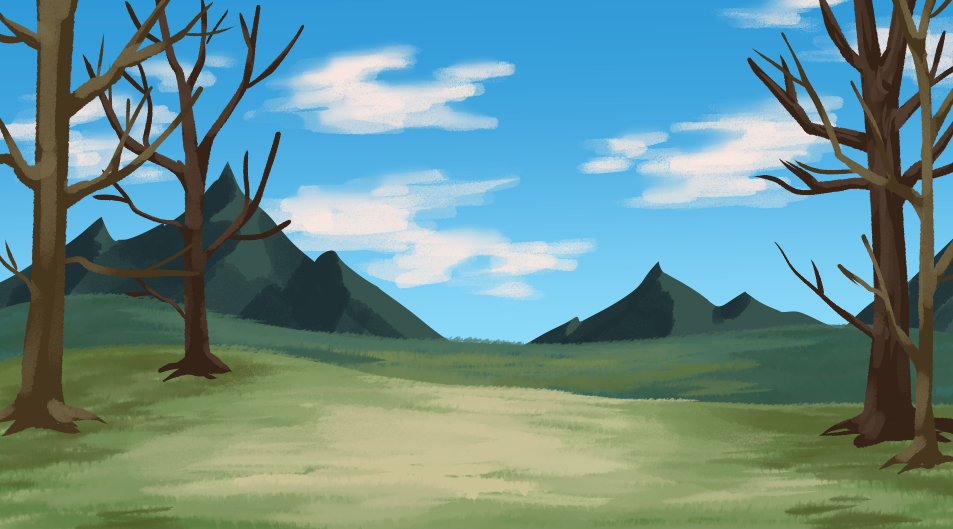
Use the Soft Pencil to add some rough softer shading

Then go back with a hard brush again to add bark detail, thinking about the flow of the grain and how branches connect to the tree

Add leaves to the trees! I used Tamberella's Grass Block-In Solid brush for this to add the base color and shadow of the leaves in "clumps"

Here I start adjusting the values a bit and painting in details, mostly using the tapered pen for the clouds and grass detail but with a few other grass brushes to block in more shadows on the ground as well

Another round of adjusting values and painting details lol... I kind of merged the two hills into one plane because I didn't like how they looked

I used the Tapered Pen and Tapered Pencil tools to paint some detail onto the mountains

I added a bit of motion blur to the clouds and gaussian blur to the mountains for some depth

Here I kind of just went ham with adjustment layers. I added a gradient map on a very low opacity to warm up the colors, as well as increased the brightness, contrast, and saturation

I broke my own rule and added the cats last because I thought the scene was too boring lol. But that's pretty much my process! If I wanted this painting to be more detailed I'd spend more time on the refining and painting steps, and less if I wanted it to be simpler or more cartoony, especially if I was using the background for an animation where it would only be seen for a short time. Hope this is helpful!
Here's a gif version of this as well!
